Tips for indoor portrait photography
Tips for Indoor Portrait Photography — Without a Lighting Kit
A softbox is a key tool in a professional photo lighting kit, diffusing light for indoor portrait shoots. But you might have noticed that natural window light is similar to the light you get from a softbox.
With the right setup, you can use that magical window light for DIY indoor photography, no professional lighting equipment needed.
Window light is the reason why we all look so good in front-seat-of-the-car selfies. Think back to your school science textbook where the sun’s light rays are depicted as directional arrows. The angle of light that you normally get on a sunny cloudless day is often harsh and direct.
If you’re shooting on a sunny day outside, those arrows of light are hitting your subject straight on, which is unflattering to anyone over the age of two. Those arrows of light are lighting up every pore, and depending on the time of day, also hitting cheeks, noses and foreheads and chins so harshly that they cast shadows, giving your portrait subject dark circles and unflattering shadows.
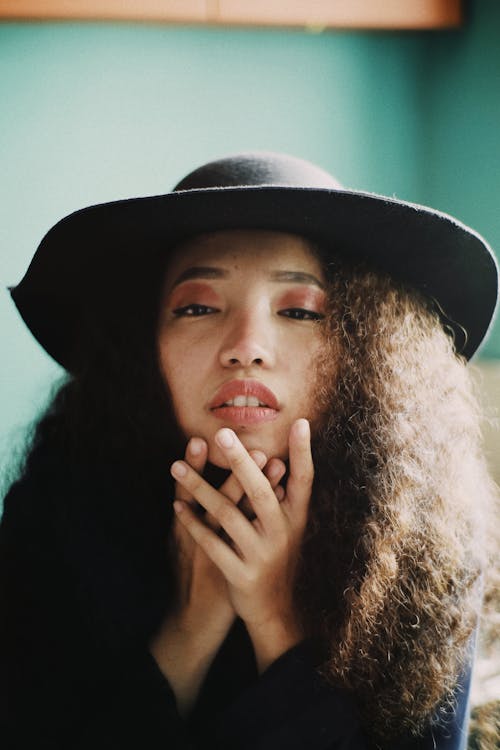
Photo by Ike louie Natividad · View Photo
But when light rays hit a window, two things happen. One is that some of the light rays bounce back. The other thing that happens is that they bend. If you position your subject in front of a window, those refracted light rays will wrap around them, almost like an airbrush.
Here's how you can make use of natural light to create some essential studio portrait lighting techniques. Great indoor photography doesn't need a $2,000 lighting kit—just a window and some creativity.
(A quick note: when you’re using natural window light as your main light source, you’ll want to turn off any lamps in the room.)
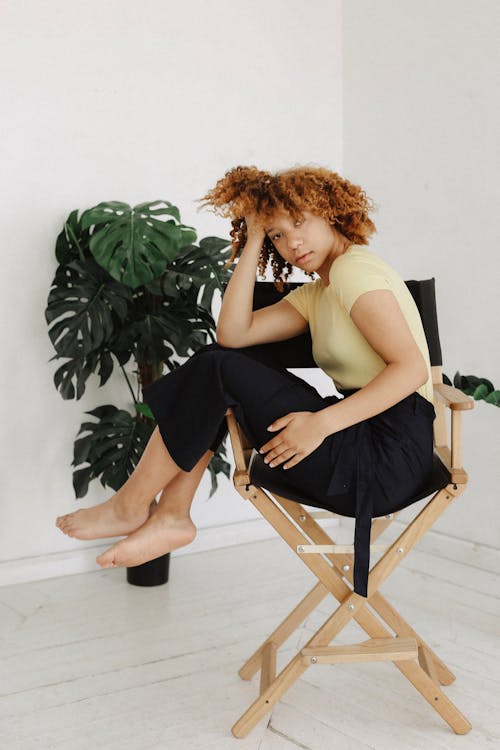
Photo by Daria Shevtsova · View Photo
Indoor Portrait Lighting Tip #1: The Giant Softbox
Even light that doesn't cast a shadow makes for clean and classic portraits.
For this indoor photography method, the bigger the window the better. And you’ll want to shoot at a time of day when the light is not too angular, like morning or midday. The sunlight coming through the window should be lighting up as much of the background as possible. Place your portrait subject in front of the window, so that their shoulders are parallel to the window and the light is hitting both sides of their face evenly.
Find the spot where the light starts to fall off, and make sure your portrait subject is well in front of that spot. (Sometimes you can see this spot by following the shape of the light that’s thrown onto the floor. Other times, it’s imperceptible to the human eye and you’ll need to use your camera’s light meter.)
As the light rays come through the window, they’ll wrap around your subject ever so slightly, but because the rays are also lighting up the background, your subject won’t be set apart from the background.
Note: You may have heard of the old photo trope: the bigger the light source in comparison to the subject, the softer the light, and the smaller the light source in comparison to the subject, the harsher the light. You'll see that most in a setup like this, where a big window is creating incredibly soft light—just like a huge softbox.
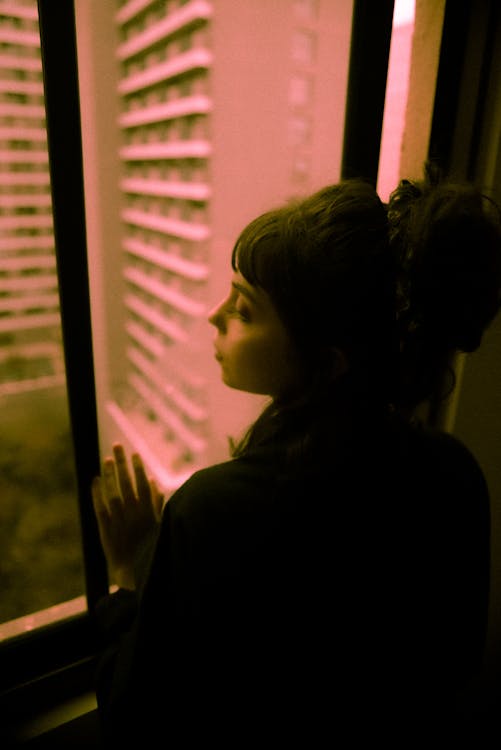
Photo by Rafael Serafim · View Photo
Indoor Portrait Lighting Tip #2: Giant Softbox with a Dramatic Fall-Off
Soft wraparound light with a dark background makes the subject stand out.
This is a variation on tip one. You’re going to use the same method as before—subject’s shoulders parallel to the window and light falling evenly on both sides of the face—but this time move your subject just in front of the spot where the light falls off.
Depending on the size and shape of your window, this one might work better when the light is coming indoors through your window at a bit of an angle, like in the late afternoon.
Although the spot where the light starts to go into shadow may not seem dramatic to the human eye, it will to your camera. While the human eye can see a range of nearly 20 f-stops of light, most cameras max out at 12. So when you’ve exposed for your subject’s face and the light behind them falls off quickly, your camera records that slight shadow as darker than it seems to your eye.
Try it out. You should be getting soft, wraparound light on your subject’s face and a darker background, which will make your subject pop.
Note: If you’re shooting at a high ISO, you’re going to be able to pick up more background light, but for these “softbox style” indoor portraits, you should be shooting at as low of an ISO as possible. The goal here is soft, flattering light, not grain and noise.
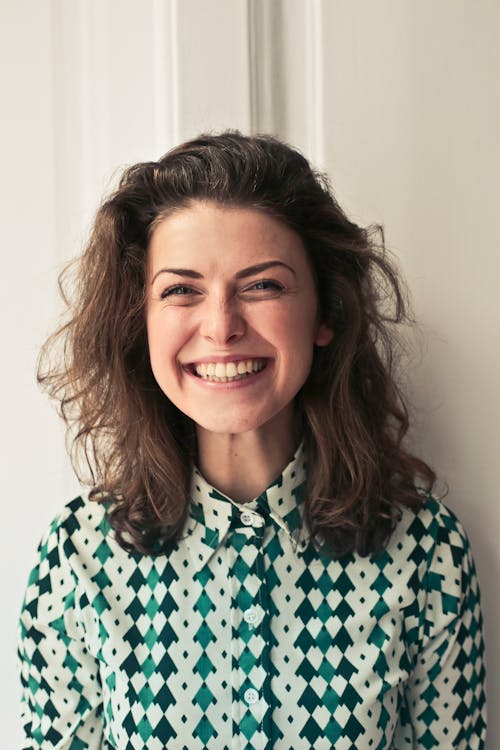
Photo by Andrea Piacquadio · View Photo

Photo by @INSTAGUILHERME · View Photo
Indoor Portrait Lighting Tip #3: Softbox Look with a Slight Contour
Mostly even light but with a slight shadow to give your subject’s face some definition.
This is a very subtle effect, but it’s something you see a lot of in editorial portrait photography because it looks a little more natural than shadowless indoor light.
The end goal here is to get even light on about 85 percent of your portrait subject’s face, with an ever-so-slight shadow on the side of the face that’s farthest from the light source. If you’re using a light meter, there should be about a one f-stop difference between the shadow side and the evenly exposed side.
Position your subject so that their shoulders are perpendicular to the window. If this window is the only source of light in the room, they’ll be side lit. We don’t want that now. So, keeping their head and shoulders in the same position, back them up until they’re almost at the edge where the window frame starts.
In this position, the subject’s face will be exposed to a wider angle of light, but it’s not going to hit both sides of the face evenly like in examples one and two.
Note: If you want to find out how another photographer has lit something, zoom in on the reflection in the subject’s eyes and you might see the source reflected in their eyes. You can also follow the shadow to figure out where they’ve positioned the light.
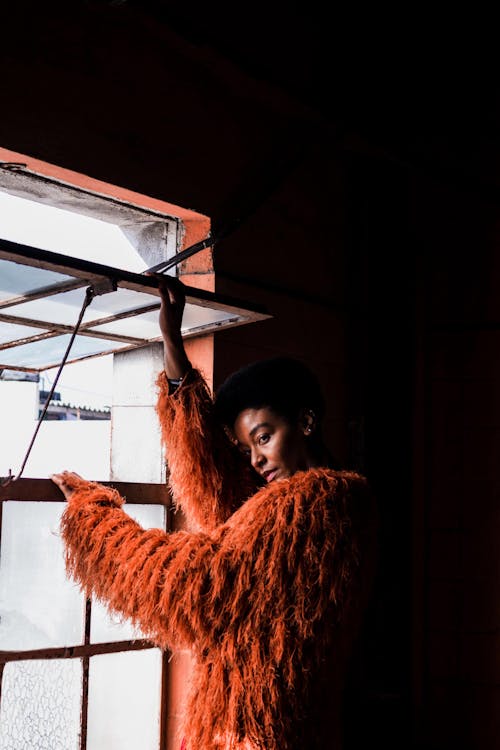
Photo by Thaís Lima · View Photo
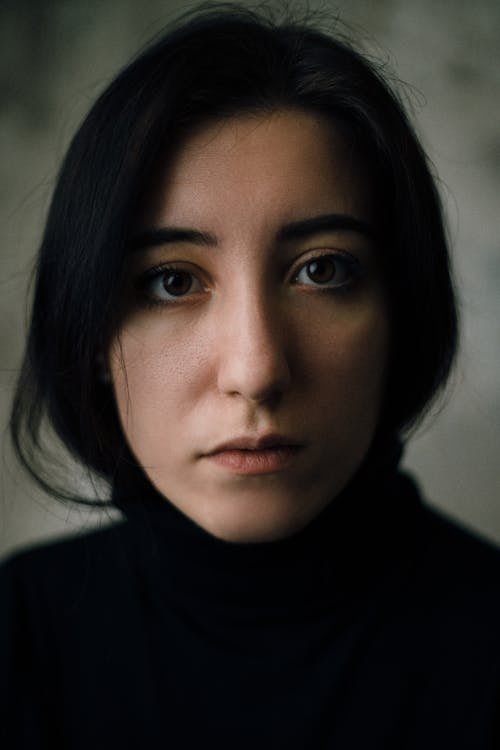
Photo by Євгеній Симоненко · View Photo
Indoor Portrait Lighting Tip #4: The Super Contoured Light
Take set-up number three a bit further for a really dramatic look.
This time we’re going to add more contour to the subject’s face, and depending on the size of the window and time of day, you can go super dramatic and shadowy with this portrait photo technique.
Keeping your subject’s shoulders perpendicular to the window, move them forward a bit until they’re lit from the side. Now have the subject turn their face ever so slightly into the light.
Your portrait subject should be getting even light on 75 to 80% of their face, but with a shadow and fall-off on the side farthest from the window. And as we talked about before, if the sun is coming in at an angle, like in the late afternoon, you’re going to get a lot of fall-off and the subject of your portrait will really stand out.
Note: Sometimes it’s helpful to draw a diagram of where the sun will be in the sky in relation to the window, and from there, you can predict where the sun’s rays will be.
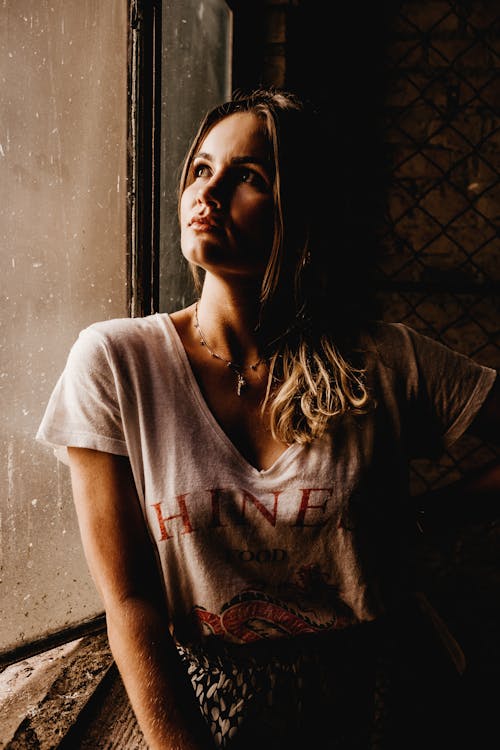
Photo by Jonathan Borba · View Photo
Indoor Portrait Lighting Tip #5: Rembrandt-Inspired Light
Otherwise known as: Not everyone can pull this off
Use this one for when you really want to convey emotion and depth in your portrait photos. Rembrandt lighting is a photo technique named after the Dutch painter, who often employed theatrical light in his compelling portraits.
In photography, Rembrandt lighting refers to when one side of the face is properly exposed and the other side is almost entirely in shadow (about three f-stops difference), except for a patch of light, sometimes an inverted triangle, underneath the away-from-the-light-source side of the face.
Rembrandt lighting is often created with professional lighting. But you can also bring this sense of drama to your indoor portraits through careful positioning of the subject and the right angle of natural light.
The window light should be at a 45 degree angle to your subject, and a little high so that their nose is casting a large shadow. That shadow should connect to a larger shadow along the away-from-the-window-side of the face, which accentuates the patch of illuminated face underneath their eye. This can be tricky with window light. It helps if the sun is high in the sky and the window is small.
You can also have your subject angle their chin up into the light slightly. And just like in the last tip, your portrait subject’s shoulders should be perpendicular to the window.
Even More Indoor Portrait Photo Ideas
Bonus round: three theme ideas to try out in your next indoor photo shoot.
Use these suggestions to get creative and have fun with portraits! You can now forget about angles, and mostly forget about positioning and proper exposure. Just play with the patterns of light and see what story you can tell about your subject.
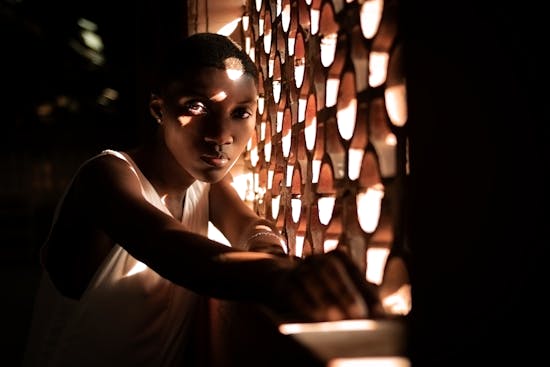
Photo by Nathasha Daher · View Photo
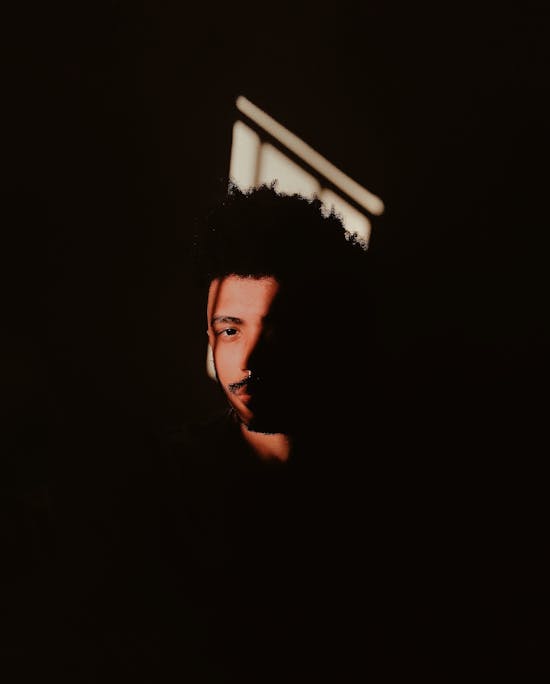
Photo by Thiago Matos · View Photo
Film Noire
Embrace all those harsh angles and shadows we usually try to avoid by using the shapes and shadows created by the sun’s directional light for a creative effect. Find a time of day where the light is coming in at a hard and low angle to create graphic, high contrast portraits.
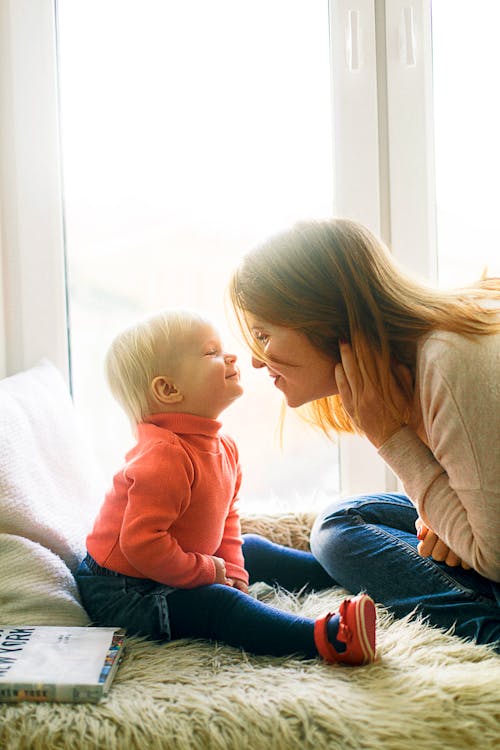
Photo by Daria Shevtsova · View Photo
Backlit and Hazy
Shoot into the sun and embrace the noise, flairs and hotspots. Have your portrait subject put their back to the window and face you. Now expose for their face. Don’t be afraid to bump up your ISO and get a grainy, hazy look.
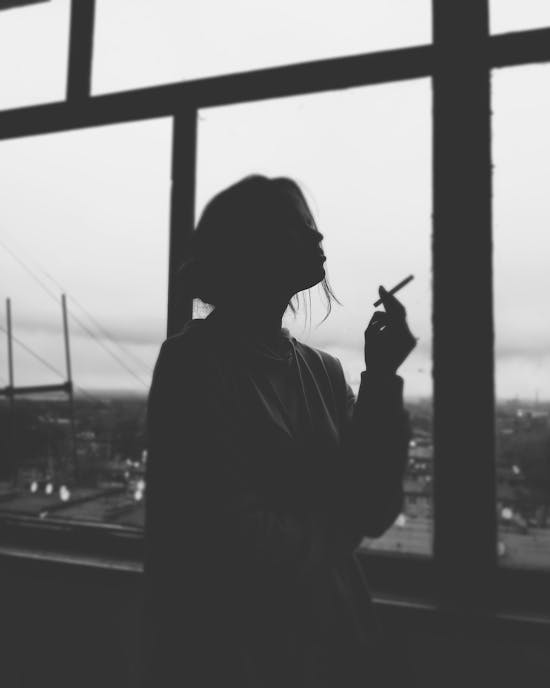
Photo by Valeriia Miller · View Photo
Silhouette
Same idea as above but this time you’re exposing for outside despite shooting the portrait indoors. In most situations, your camera won’t be able to expose for both the inside and outside, so your subject will go dark. Play with variations on underexposure, positioning, and raising and lowering your ISO.

Photo by Thomas · View Photo
Reflections
My personal favorite indoor photography technique. Put your subject in front of the window, facing it, and shoot from outside the window, using the light and scene reflections from the outside.
That concludes our roundup of innovative ways to use window light for your indoor portraits. Try your own combinations and make variations on any of these options! When in doubt, break all the rules and let your own creativity be your guide.
We'd love to see the results if you try out any of these indoor photo tips! Tag us on Instagram or Twitter and share your portraits with us.


கருத்துகள்